
Installation:
=============
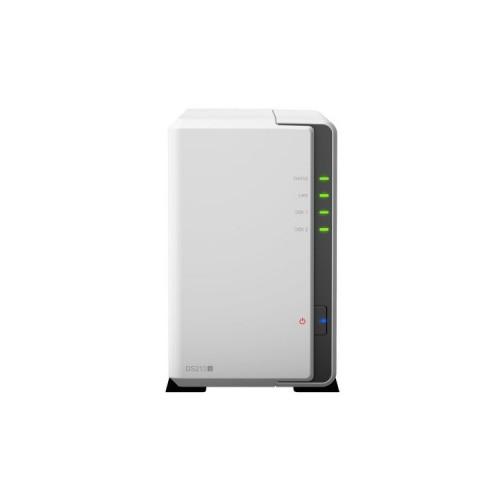
The NAS comes without a hard drive, I have 2x Seagate Barracuda ST2000DM001 fitted with 2x 2 TB capacity each.
The incorporation is easy, housing defer disks shove, for each disk reindrehen 4 screws,
Housing push, 2 screws into the housing, ready! I have 15 minutes. Used for.
Commissioning:
===============
I have a NAS connected for the first configuration directly to a laptop and inserted the CD. Then I have
find.synology.com entered in my browser (Firefox). The NAS / DiskStation was not found immediately, I have closed the browser and again entered find.synology.com, the DS213j is found. I followed the installation steps in the browser and have selected from the CD under the DSM file for installation. Now the DiskStation was established.
It is explicitly pointed out that the data is deleted on the hard drives, they are with Ext4 - formatted File System. The course applies only to the built-in NAS hard drives. Again, all very simple and self-explanatory.
Configuration:
==============
Here you will be guided by a wizard through the installation. I find the Wizzard a little getting used to, as is to click at every step up to the individual "Cartoons". But here one gets along quite quickly.
Logically structurally, a "Share" is on the hard disks set (release for area) and then assign the authorizations. This works really fast and easy. Of course there is a lot of Konfigurationensmöglichkeiten you only times not needed as a layman. Here you can read later.
Also set up the release was a 15 min. Does. Now I wanted to make accessible the NAS over the Internet.
To this end, I have the NAS hung with the included network cable to my FritzBox 7240 and tried again enter Setup Assistants'.
Access to the NAS via the Internet:
==================================
To this end, I have inserted the CD and wait for the CD menu, click on the big thick Start button menu - Crash (I use Windows 7 64 bit). Ok again called CD menu and click Start again now a program opened after 10 seconds in the DS2013j was displayed, I selected the NAS and then the top menu the function "Connect" selected, clicked will open the browser with the login screen. Enter admin and then called the Quick Start Wizard. Up EZ-Internet clicked through and selected, that I want to connect through a router (Fritzbox 7240), he has here 3-4 minutes try the port forwarding set up that worked for me but NOT.
A Tuturial there this on [...].
I then under [...] me the ports that I need,
manually set in the Fritz box that's done in a minute.
Enter in the browser fritz.box, enter credentials, Internet / releases new port forwarding Select then in the port forwarding instead of HTTP server, select "Other Applications" and submit it. For example, to access over the Internet protocol "TCP" Port "5000" to port "5000" on computer "DiskStation" Port "5000" done! For example, on Android - mobile phones (here you should enter the PlayStore times Synology) the NAS to manage, you have to check other ports, but even that is in 1 min. made for example of the app from the PlayStore DS File is the Port 5005 or 5006th
Thus from the Internet always has a name you (ip changes yes) can access the NAS, I I via the web interface of the NAS on "Control Panel" - the service provider selected Synology> DDNS and registered myself there. So now I can always access my NAS via the web address <name> .synology.me. From Mobile, PC no matter where! Note: The confirmation email landed in my GMX spam folder! So here again if necessary look.
Conclusion:
======
A very good price / performance ratio. There is an abundance of functions and to get really quick a conclusion. The fan and my hard drives are really hard to hear. Especially on the NAS itself when not in use to standby. I would buy the device at any time, for domestic use, it is really sufficient.


![Just Dance 2014 - [Nintendo Wii] (Video Game)](https://img.tgreer.com/thumb/85x85/2/f3/2f3f62c0f2cfaa9f.jpg)


