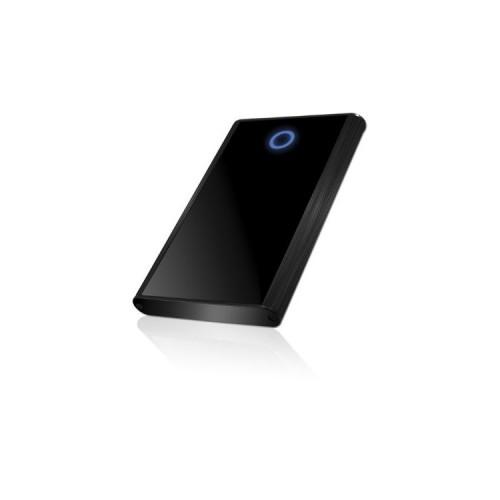
The finish is black brushed aluminum, with a few discreet plastic inserts. The housing is robust is to inspire confidence in its ability to "survive" in the long term.
Note that the case comes with a micro screwdriver, 3 screws and 1 synthetic case to protect your camera from scratches.
The blue circle is actually a status LED HDD: one side lit continuously for feeding the external hard drive, the other side that flash depending on the file transfers to the external hard disk.
For less than 15, I think it's a good buy, and I would do without hesitation.
Very simple assembly:
- The plastic panel is removed back lextrémité
- You slide the top panel aluminum to discover the SATA connector
- Inserting the SATA HDD 2.5 "format in the housing until the plug SATA connectors
- The top panel is closed
- It screws the back panel
Quick installation:
- You plug the newly assembled external hard drive with the USB3.0 cable
- The expected automatic hardware recognition by Windows (XP Pro and 7 for me)
Hard disk initialization:
- Once recognized the hardware, right click on desktop, select "manage / manage"
- In the "Storage", click on "disk management" => the list of connected hard drives appear
- Right-click the new hard drive and select "Initialize Disk"
- Follow the instructions (usually by default), and proceeds to the next step
Partition and format the hard drive:
- Always in the "Disk Management", right click on the "Unallocated Space" and select "New Simple Volume"
- Choose the partition size (usually maximum size)
- Choose the letter of the volume
- Choose the volume name
- Launch a quick format to NTFS
- Click on "Finish" and wait patiently for formatting the hard disk
That is, your external hard drive is ready to use!