At startup I have not been at all out of place, a CD containing the classic "IP camera tool" is provided, and the method (very simple) camera setup is always the same:
1) Connecting the camera to the local network by ethernet cable (supplied) (WIFI configuration will take place later)
2) the camera's power supply plug.
3) From a computer connected to the LAN, running "IP camera tool" (in Windows, this is the executable "IPCamera.exe"), which detects the camera and displays it in a list (with his name and the connection URL of the form "[...]", the IP address has been assigned automatically DHCP)
4) Double-click on this line opens a browser (IE, Firefox, Chrome, ..., following what has been defined as the default browser of the computer).
5) It then accesses the HTTP server built into the camera. A login dialog box ("login") opens, asking the user name ("admin" by default), the password (blank by default), the video stream (main - Default - or auxiliary ), language (English not default). Select "French" and press the "Login" button.
6) The interface (comprehensive) configuration appears. Personally, I make the following changes:
- "Basic Settings": camera name, define a password for the "admin" account, create another user account
- "Network": IP configuration: I defined a fixed IP address, with the gateway address and DNS IP address from my router.
Such a change causes the restart of the camera. Once it's done, you can activate the WIFI. A "scan" button to scan all available wireless networks. Select the appropriate one, and enter their password.
NB: WIFI only be operational after disconnected the ethernet cable.
Optionally sets the HTTP port of the camera (default 80). As for me, with multiple cameras, I define the ports in 80xx. If this is the case, then do not forget to inform the port no camera in the URL from the browser of the PC (eg "[...] 1")
Email addresses can also be defined, to which the camera will send messages, eg in case of motion detection. It is also possible to activate a "mini fire" which will filter certain IP addresses.
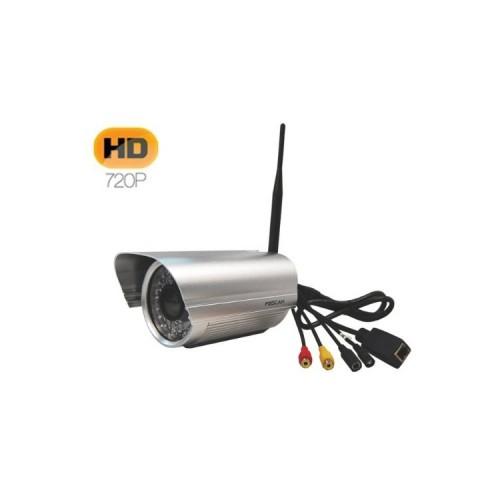
Finally, it is very easy to change the "firmware" of the camera. Coincidentally, the same day that I was delivered by Amazon for this camera, I received an email from FOSCAM US (I subscribe to their newsletter) informing me of a new firmware for the FI9805W 2.14.1.10!
[...]
So I downloaded (.zip file 7 MB), decompressed (.bin + manual PDF) and after selecting it from the web interface of the camera, I installed it. it took about 2 minutes, the camera automatically restarted with the new firmware without any problems.
IMPORTANT: It is strongly recommended that you replace the firmware with the camera connected to the local network via the Ethernet cable and not WiFi (it is possible, I have already done, but if there is a disturbance in WiFi, this could jeopardize the operation).
This new version of firmware and web interface makes improvements at the WIFI driver, patches facilities, adds a wizard (independent of browser used), ...
And with plug-ins and invites them to download and install (once for all), the interface becomes strictly IDENTICAL we either Internet Explorer (with an ActiveX control "ocxIPCReg.ocx") or FireFox or Chrome (with a plug-in "npIPCReg.dll").
Also, I added this camera without any problems in the application "tinyCam Monitor Pro" (multi cameras) my Android smartphone.
So I am very satisfied with this camera, without any restrictions.