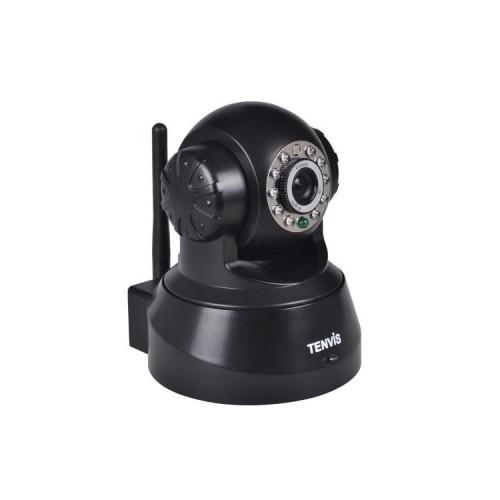
1 / Connect the camera to the mains and on the network via RJ45 cable and once in the administration interface, you add your wireless network to get rid of the cable and the constraints of the wired network (location of your limited camera the scope of the cable)
2 / Once you set up your WiFi, you will manage access to the administration interface by adding a password to prevent any intrusion into your privacy.
3 / Open an account with a DNS provider (there are free, you have to look good, I have opted for "NO IP")
4 / Once your account is created, you will configure your ADSL BOX, there must also go into your administration interface, usually "192.168.1.1" in the majority of ISPs. IF you have a broadband ISP router off, replace the last digit "1" to "0". Then, once in the administration, a walk in the network part and NAT port translation. You enter the address of the DNS account and the port on which you want to redirect access. Here we will be on the 81 by default, but is editable. The trick is to put the same on the camera and on the box. This is paramount.
5 / You have access to the camera from your Web browser but also tablet pc and smartphone (regardless of the brand and the operating system) For users android application TENVIS SIGH works! There are not all the settings, but you can control the camera, edit the contrast and brightness but also use the microphone and HP camera.
That should help the less comfortable with computers.
Enjoy!