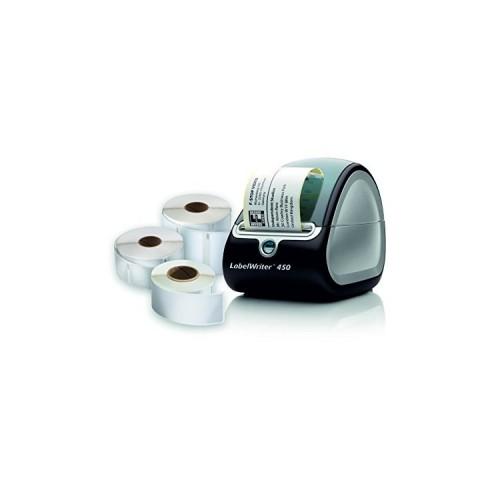
Thanks to Dymo LabelWriter, I turn into a mini Alejandra Costello guru well known storage (if you do not know, I recommend you his most famous tutorial on YouTube, with over 2 million views).
The printer is contained in a pretty big box, but for once there was no place loss. 3 The label rolls take up much space.
1. INSTALLATION
Very simple: a wire that will connect the printer to electricity (European cable, cable English) and another who must connect to the computer via a USB cable.
Think anyway to install the paper roll before starting the first impression.
- Printer
Lift the cover (very simple, there is not even a button), remove the protective paper and plastic on the inside. Then remove the dispenser and put a label rolls (relatively similar technique to kitchen paper reels or toilet paper). The only slightly tricky manipulation is inserting the paper into the slot that runs the paper to print. With some experience it was good (you have a few patterns available and not 50 possibilities, we quickly made the rounds). No need to "buggers" as soon as the paper is properly and carefully installed, the printer system will sound to correctly calibrate the first label.
- The software
Insert the CD into the computer (works in PC and Mac), click "Install", register the product if you wish to receive updates and the Extended giving a certificate for 3 years (note the serial number is the top number in the printer, it starts with "S / N", these are not the numbers near the barcode).
2. USE
You click on the program icon and faces a kind of very simple word processor, where writing appears immediately on the label format. More text is longer, the text is automatically narrowed.
I struggled a bit to printing the first label, I wasted about twenty easily. In effect the printer does not detect the default label format. We must select it. And I did not have the reference labels on rolls. I measured the size of the label, not found on similarly sized models mentioned, but I selected the most similar model. That was good!
The label templates you want can be recorded, it is very useful if you want to print the same thing regularly, or at least often use the same label layout. Frankly, as I discussed a bit to find my first model of labels, I think I'll keep it as long as possible.
After the print click the label released in less than a second printer and undone as a receipt, with a separator "cutting" very easily each label. I am very abrupt and awkward and I have broken no label.
The ink is highly visible and dry immediately. I was able to check by pressing fingers above strongly to stick my labels.
The labels themselves are pretty good, but could be better. Certainly, and this is the best, they "do cling" not on surfaces, I could take off / off again without worry. By cons must be emphasized by pressing the entire surface to be sure they are well bonded. On my shelves they already take off on some edges and give an uneven result. This is why my rating to 4 stars.
Finally in 30 minutes I had to leave a good thirty jars and labels to identify shelves. Everything is very clean and brings a lot of clarity in my storage. Note that I have not yet tested layouts "original" (kind of boxes, pictures), the simple is often best.