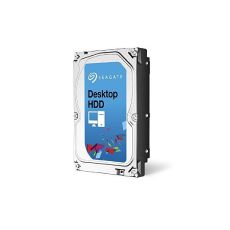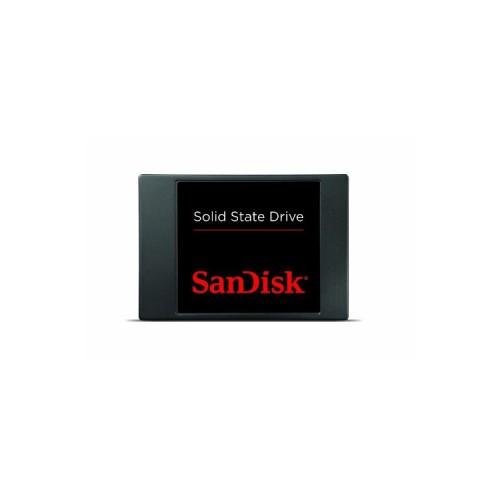
I have installed the SSD in my Acer Aspire One 722 (A60 CPU, 4GB DDR3 RAM) netbook and am thrilled. The ramp-up to the Windows screen and loading all programs will take with me only still 27 seconds! Before it, 63 seconds. Open applications incredibly fast (min. 3 times faster!) And the netbook looks really dynamic despite only 2x 1Ghz processor.
Firmware version 1.0.0 is currently as there are any updates for the SSD. Of course you support TRIM and makes for the average consumer a very good impression!
Now I want more 3 IMPORTANT ISSUES RESPONSE:
I. save money on the installation bracket and attach the SSD differently in the housing.
II. Moving all the important files with backup software to the new SSD and repairing the BOOTMGR file for system startup (Windows 7)
ad I. The SSD is shock-resistant and can be very easily with cable ties, attach wire (eg paperclip) or other aids in the housing. (See my customer image)
. ad II Procedure for the move to SSD Win7 (Although multiple disks / partitions exist and only C: to move!):
I already have 2 SSDs installed (1x Netbook, 1x PC), so without new Windows aufzuspielen still my excerpt from the installation of the 2nd SSD here:
Info: I take no responsibility for my guide or resulting loss of data, damage to body and equipment or the like!
1. Using a backup program (such as Acronis True Image or completely secure a comparable program the C partition, eg on an external hard drive.)
2. Create and keep ready with the backup program used a bootable rescue CD (or USB flash drive).
3. Shutdown PC, switch off power supply and unplug.
4. ALL !!! SATA connector on all disks preview (otherwise later works the repair of the Windows startup file not !!!), the newly installed SSD now with the SATA connector of the former "C: drive" connect. The power plug all stay tuned! All other SATA connectors stay away! Leave it open to access the hard drives to the housing for later.
5. Switch on the PC again, (if not already happened) AHCI mode on native BIOS rather than IDE or IDE.
6. Either the BIOS or F12 or similar Select at boot the CD / USB and boot from it.
7. There now play by the backup program, the backup of the old drive to the new SSD.
8. deal for a while with something else and ever ready to keep the Windows 7 DVD.
9. If the backup has been completely transferred to the SSD, reboot the PC and insert the Windows 7 DVD (or Windows 7 USB flash drive) and boot from it. Now choose computer repair! (Appear until the language it can take depending on the PC in advance up to 10 minutes, do not break!)
It should now be self-employed, an error is found, select Startup Repair. (Not system image)
10. Restart PC after completion. Now it is almost done.
11. Once again, start Windows 7 DVD (or USB) and again go on "computer repair options". Now make the list of "Windows 7" are displayed. Again click Startup Repair. Then as indicated restart.
12. Now remove kan nThe Windows 7 DVD (or USB), Windows restarts.
13. When Windows starts up, only the C partition is now displayed. Now the other partition must be restored. Connect a new SATA cable for the old hard drive with C. Now AHCI was enabled can be connected with running PC Plug & Play, just like a USB stick the hard drives. Attention, grab only the SATA cable and not to any components for electric shock. Now connect all remaining disks. Which are recognized by Windows 7 and displayed (or not). The partition was formerly the C is now displayed as System Reserved. (If not, under Computer, then the same in the management!)
14. Select Right-click on "Computer" now "manage". Then on "Disk Management" button. Now the old C: partition to delete from the old hard drive. If on the other disk still have been a different partition, it can still be used as normal.
15.Hier must now probably the drive letter be renamed back to the "old", so that all programs and paths again so are as before. Just click on the partition and geweilige "select Rename." This is necessary so that all the programs were previously installed are back for the "PC" in the right place.
Once that is done, everything is as before again. Only difference is that now everything runs from the SSD much happening much faster :-)
Well done by hand or with Samsung using software Unignore defragmentation, disable indexing of Windows also.
I wish you much fun and I hope to have answered a few questions.
If I could help you I would be glad about a thank very much!
(Unfortunately, my installation took a little longer because I did not know that must be ALL SATA cable temporarily pulled out the cable of the SSD. That's why Windows was unable to repair the system start 7.)
Greetings July