I have ordered this display protection films two weeks ago and the delivery was made quickly.
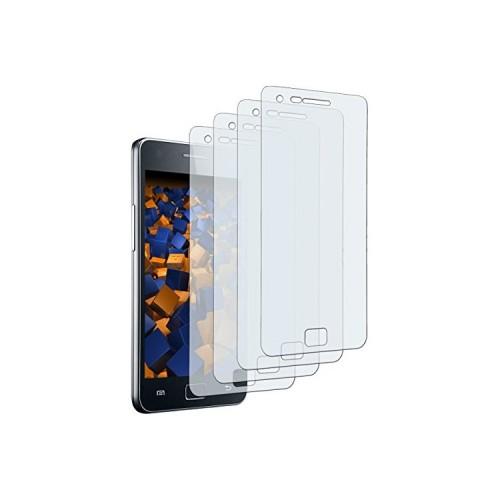
The film is well located and very accurate as desired on the display, there is no excessive edges or gaps.
The view of the display, the display quality and the operability are not impaired by the film.
The haptic sense when operating is hardly another, you realize not much difference.
After one and a half weeks, I can only say a great protector. It remains to be seen whether it is good even in the long period something.
In summary to say good product, five films for this award because you can not complain!
Here my personal experience and an extra detailed guidance on how it worked fine with me!
Because of errors one makes himself the application of the film, the film can not and is therefore not a bad product.
(Complemented by the way very well, because the edges of the shell with which overlap with this silicone sleeve from the same producer of the film: mumbi silicone TPU Case Samsung i9100 Galaxy S II Silicone Skin Case Cover - Galaxy S2 S 2 SII Cover)
# # # # # # # # # # INSTRUCTIONS
The films were packaged together with instructions, but it was still an additional, slightly more detailed instructions enclosed.
In the guide stood beside other useful tips that one should apply the film in the bathroom, and before running hot water a long time, so that the steam binds the dust from the air. I have just taken a new long hot shower. It should already be fogged the mirror. The humid air harms the Galaxy and the film does not, but it should not drip from the ceiling as well. As soon as you then all accessories (unused / clean microfiber cloth that slides a credit card or similar) has, door, because the humid air to remain in the bath.
1) WASH HANDS! Correct with plenty of soap so that no more body fat on your fingers is.
2) The rest quietly and leisurely make, no hectic movements swirling just dust, and every speck of dust is finally one too;)
3) The display with the slightly damp at one point microfiber cloth brush, often turn the cloth back on a dry side and refolding until you can see no more streaks in the full screen. Also the rear of the Galaxy should be largely free of fat, etc. in this manner, so that it can not accidentally get to the clean finger again. You do not need soap or other cleaners! Just as long brush until it is clean.
4) For me it was so that lint and dust particles on the screen after this step were still, but I did not get away with the cloth, because new lint always came back to the display of the cloth. Therefore wash AGAIN hands and dry thoroughly. For now, you can very carefully simply swipe your fingers the remaining lint and dust particles from the display, without which one does it again with greasy fingerprints fully. If you notice, the left fingers back light streaks, immediately wash hands again. This may take a while, but I have so managed to really 100% to get the screen clean.
5) Now the tricky part, the film comes into play. A little tip: Since you anyway five films, but most likely only a Galaxy S2, you can in front of the whole action calm foil "sacrifice" to see how the film on the display fits, and how large the margins on the sides must. This is very helpful for this step!
Again, STAY CALM, otherwise you can quickly get to dust the static underside of the protective film, and as you get them away barely.
Now you can carefully out fumble the small punched portions of the film in the recesses with the fingers. This has the advantage that you, as long as the carrier film is still on it, can not touch the sensitive static underside of the protector.
Now you have to as described in the instructions, the carrier foil Pull off a piece, and you bend it carefully so it does not bend back. CAUTION: DO NOT touch the underside of the protective film! Only the touch border.
Based on the very precise cutouts on the upper side of the film can align them well, they can also be again completely replace the need and try again.
This is about good eye, nimble fingers and the rest, because it happens relatively quickly that the film is crooked without you see it and then the other recess at the lower end does not fit on the button. If you have the film properly aligned, then the credit card in one hand start up, hold the carrier sheet in the other hand and then slowly move your card down, thereby exert uniform pressure and pull at the same time at the same pace, the film down , Important here is that the card you used a straight smooth edge without quirks. On top of that I also put a piece of toilet paper around the edge of the card, so it can not scratch the film, even if you push a little more, and so it slides better.
6) If you have done it without great error to make it, you have no air bubbles in the center of the screen, but only marginally. This can now be careful with the map out emphasize the edge.
Now once rid the film of dust etc., and check whether really is nothing under the film.
If not: Congratulations! DONE! : D
If only: Either live with it, or start the whole procedure with a fresh film from the beginning.
I hope that my tutorial is helpful! :)
Good luck, Ommi