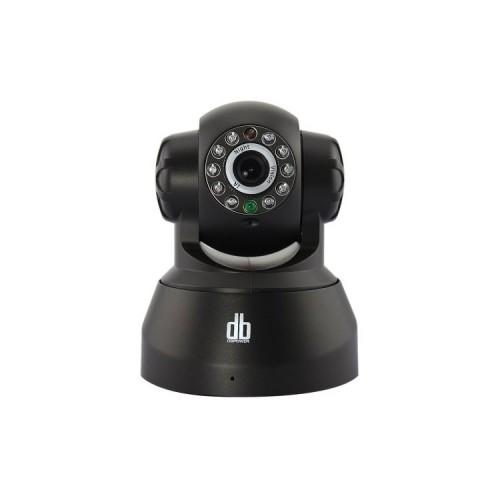
For an initial installation procedure is as follows:
1. camera to the router (Fritzbox) connect via LAN cable.
2. Enter the camera's IP address in the browser and login. The username is admin, password can be free. The IP address can be found in the router menu.
3. In the admin area you now click on the Wireless LAN Settings button and transmits its wireless data (SSID + WPA2 Key).
4. Done.
The camera is now connected via WiFi to your home network and can be accessed from any computer, smartphone or hybrid TV via the browser. If you have started this, we obtain immediately the live image. The control allows the camera to move in 4 directions. If you want to mount the camera upside down to the room Covered, can be mirror the display so that the image is not displayed upside down. In addition, can still be up to 8 additional IP cameras connect and control over the software. For night scenes, the camera has a non-visible infrared light, with a range of about 25-30 meters. In addition, the camera has a microphone and a speaker. The recording works very well, the Speaker is somewhat too low. It can, however, also connect microphone and speaker with jack plugs to the camera.
Those who want to connect to the Internet his camera, this can easily set up under DDNS Service Settings. Here the famous DynDNS services are already preset. The choices are:
1. DynDNS.org
2. 3322.org
3. 9299.org
4. 88safe.com
5. Vipcam.org
6. NO-IP
7. P2PIPC.COM
8. Ipcpnp.com
Thus, the cameras can be controlled world, record, and you can easily communicate.
All in all I am very satisfied with the camera. It is easy to set up and offers a variety of functions.