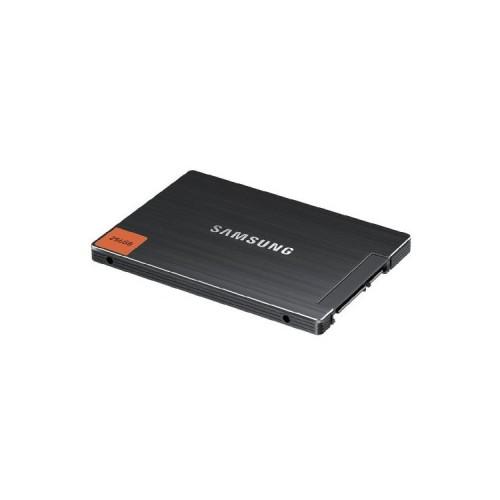
First I again made a Time Machine backup. After you close your SSD to using the provided USB connection cable and formats the SSD briefly. Then I started the new MacBook and pressed during the restart cmd + R. You can reach the recovery program from MacOS. Click "Disk Utility". Click on the tab "Restore" in the next step. In the source, the Macintosh HD and should be in "target" the SSD. After the "Restore" button. The computer then does nothing other than a 1: 1 to produce a copy of the hard drive. This step can, depending on how many data is on the hard drive, take several hours.
When this process is complete, turn off the MacBook and installing the SSD. Following you can start the MacBook as usual and all data are available again as before.
Another note: While Mac OS 10.7.4 support TRIM, but only at Apple factory installed SSD's. But there is to activate the TRIM mode two ways. Either the program "TRIM Enabler" or in the approach to the terminal as follows:
Driver patch:
sudo perl -pi -e 's|(\x52\x6F\x74\x61\x74\x69\x6F\x6E\x61\x6C\x00{1,20})[^\x00]{9}(\x00{1,20}\x51)|$1\x00\x00\x00\x00\x00\x00\x00\x00\x00$2|sg' /System/Library/Extensions/IOAHCIFamily.kext/Contents/PlugIns/IOAHCIBlockStorage.kext/Contents/MacOS/IOAHCIBlockStorage
Clear cache:
sudo kextcache system-prelinked kernel
sudo kextcache system caches
Start anew!
NOTE: Before you do this step, make sure to first make a backup. In addition, the responsibility lies with each user even if he wants to intervene so deeply into the OS.
Overall, I must say that the boot times are much faster than a HDD. Likewise, the programs are much faster operational. For me, this work has become even more enjoyable.
The investment has definitely paid off!