As important when remodeling is noticed:
- Opening and closing the rear pin of the charger.
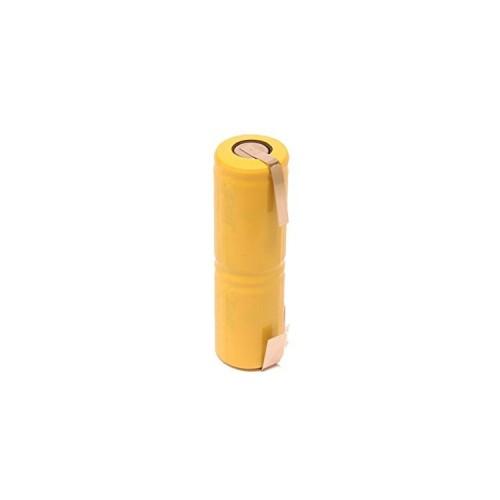
- Lötfahne the plus side must be soldered as the first from the middle of the PCB (desoldering can help).
- Sheet-flag the minus side of the old battery nip off, so that the new battery is soldered.
- Sheet metal flag of the new plus side cut somewhat narrower (with plate shears)
- The first function test as soon as the new batteries are soldered, button press on board, engine must go.
- Upon insertion to excessive stresses, you might be in the wrong groove of the sleeve. Pushbutton of the shell and PCB are on the same page.
- Of course completely pure shirk turning for closing.
- Second final functional test when assembled: Switch handset and plug in the charger. Handset must go out and charging LED should light up.
After the conversion, the seal was always forward definitively no longer functional on the motor axis with me. That is why from now to do after each use: brush head pull, flush both sides and (important) shake.