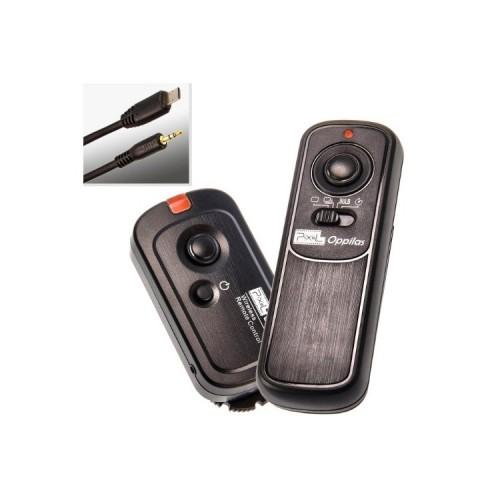
Procedure for commissioning at the SONY DSC-RX10:
Set the DIP switch in the battery compartments of the same kind, for example:
Receiver
DIP1 on / DIP2 on / off DIP3 / DIP4 from
Transmitter
DIP1 on / DIP2 on / off DIP3 / DIP4 from
This goes out to best with a little luster terminal screwdriver or similar.
Insert the batteries in the receiver and the transmitter
Be careful when inserting the stamped display in the battery compartment for the note Plus and minus pole, as might spring and contact could be reversed.
The receiver can be inserted into the camera shoe and fixed with a knurled screw, which is about 10 cm long adapter cable fits into the lateral multi connector of the camera and the 2.5-inch jack connector on the receiver. The camera mechanism in the USB Menu are set to mass storage, then folds the adapter cable connecting the receiver without problems.
The receiver with the small ON button on (about 3 seconds it stay until it flashes red)
Turn on the camera z. B. to frame and other settings (automatic functions or manual modes)
At the transmitter select the mode, eg frame, first setting the slider
When pressed on the shutter button on the transmitter is the autofocus when you set enabled
When you press the shutter the photo is triggered
Variants of the self-timer:
Single image
Continuous (every second is a photo triggered)
Bulbmodus (for the camera must be set in Bulb mode The first press of the shutter opens the shutter of the camera, the second press of the shutter of the Bulb mode is terminated and the image stored on the transmitter flashes during recording every second one red lamp)
Self-timer (the waiting stations 3 seconds until it sends the triggering signal to the receiver, can also be combined with the release mode of the camera)