If you are predisposed some gross motor (like me) you messed up before two films, to a fully seated. It is important to pre-read the detailed instructions. Also important is absolute cleanliness on the display - no filming and no fluff! Preliminary work best with a lens cloth and brush blank with the accompanying handkerchief. Maybe advance hang out test driving the slide on the screen to get a feel for the seat and at it target the recesses. Now subtract absolute concentration and exactly as directed approximately 1/3 of the protective film with the tab 1 and fix the foil with the adhesive side on the cutouts for the camera and receiver and exactly this first third press before. Since the film is very accurate cut, you can already see if something is going wrong here. Must be corrected, very carefully peel back and start again. This fingering neither the adhesive side of the film nor the display. If the seat is good, continue the protective foil on the tab evenly and carefully piece by piece while applying the film on the display. Usually little bubbles are present. If so, you can easily cross out with the enclosed squeegee to the edge already. Well - but really very carefully, otherwise you tear the foil again from - with flap 2, the upper protective foil. If bubbles are still there, you can now run with the squeegee finetuning. Finished!
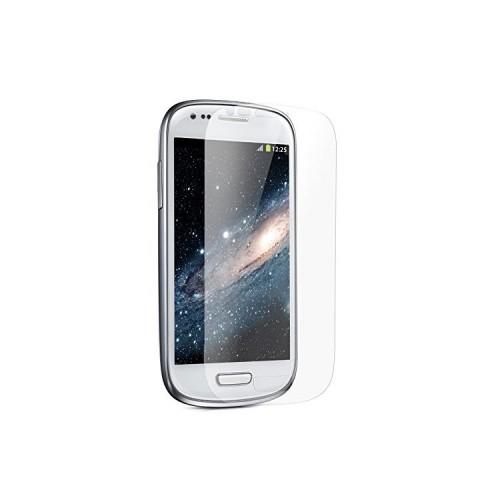
As I said, the film is very precisely cut. It is slightly smaller than the screen. This is by design, because the S3 mini display is rounded at the edges. There, the film would otherwise not stick.
Another tip: If an adhesive action be failed, do not use the film again. This is nothing! Agree botched film, clean the display again thoroughly and apply a new slide. They are of 8 this ;-)
Conclusion: The film is absolutely accurate fit cut and hardly visible. If you follow the enclosed instructions, it works very well with the attachment. The sensor is not restricted, the use of a Stylustouchpens functioning properly and has until now not damage the film.