- Power cord with Euro connector
- Adapter for other network connections
- Network Cables
- Mount
- Mounting material
- Mini-CD with instructions in English
The initial start-up work relatively easily with network knowledge. Though the camera has a WiFi functionality but I recommend the initial setup via a LAN cable to make the existing router. Only after I switched to operate on Wi-Fi:
1. Connect the camera to your router via a LAN cable
2. Enter the camera's IP address in the browser and login. The username is admin, password (for now) none. The IP address should appear in the router's menu
3. In the admin area you now clicks the button Wireless Settings and transmits its wireless data (SSID + Key)
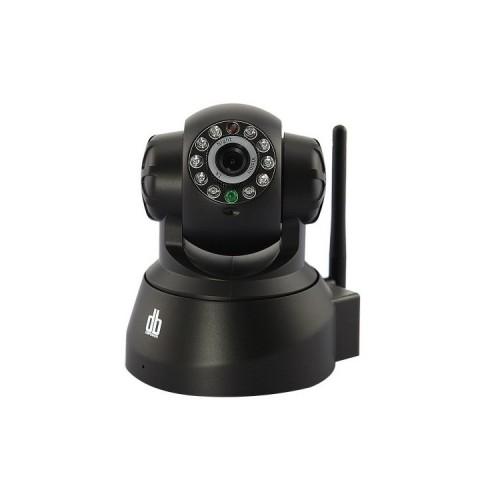
For further night shots, the camera has a non-visible infrared light. The range here is about 20-25 meters.
Furthermore, the camera has a microphone and a speaker. The speaker is somewhat quiet. It is also possible via microphone and speaker jack to be connected. A control via app is possible and also works surprisingly well. I tested here within the WLAN the Android app. Something hakelig is the recording via motion detection.
Those who want to connect to the Internet Camera can set it up all over DDNS Settings. Here the famous dynamic DNS services are already preset. Because I want to control the camera only via WLAN, I could not test this functionality.
Conclusion
The camera serves its purpose and is characterized by its relative ease of use and the benign and stable transferred images during the day and at night. Price and performance convincing.