One of the printers developed a fault where the ink would smudge off the paper for the first few prints. This was not what Because The ink being melted to the paper. To me this Indicated a fuser failure.
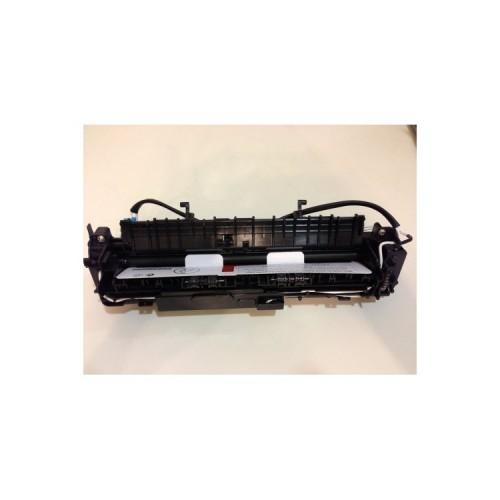
I purchased this one off Amazon and it came within a couple of days in a usual oversized Amazon box full of bubble wrap. All the box contained what this fuser unit with no instructions. This is not a huge issue to most IT techs as it is pretty simple to fit.
I could not find any Youtube videos of pulling this model apart, there are some of other models did look the same but They are not! So I Could not find much documentation about how to fit them either.
I pulled the printer apart by removing all the ink and imaging drum leaving me with the shell. The fuser is located at the top of the printer just before the paper comes out. To start you need to remove the 4 screws from the back of the printer and then the ones holding the top on. You will need to remove the top piece of the printer which just pulls off after you have undone the screws. There are two ribbon cables attaching it to the board, thesis just pull off but be careful!
You Should now be able to see the fuser unit but to get to the wires where it plugs in you have to take the back and side off. This should be pretty simple, there are no screws holding the side on. There are just pressure clips. You have to pull the back off and bend it round to release them. It feels as though They are going to break but it Should be OK. The side then comes off by pushing a small screw driver along the bottom to release the clips. I had to take the front plastic facial off mine too as this made it much more easier.Read
So it's me ... no description here .... installation virtually impossible without some damage to ....