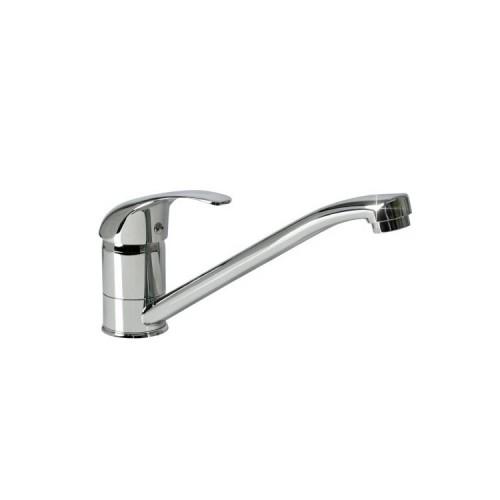
How can you determine the connections yourself?
Quite simply blow through.
First, the three supplied flexible hoses to the low-pressure valve screw (Attention: here no tools may be used, tighten by hand only, otherwise the seal may be damaged).
1. The hot water supply to the water heater (red, or up arrow) is always open at a low pressure valve, so the flexible hose where you can always blow out (even with the faucet). DC red paint or otherwise mark.
2. The cold water supply to the water heater (blue, or down arrow) of which you can blow through _not_ - when the faucet is completely open to cold (Note: in this here is cold reversed / warm, so here's the far left cold). Connection blue paint or mark.
3. And the last remaining is the connection to the water pipe in the wall :)
These instructions must be like to be further improved and distributed.
A stabilizing plate is not included. If you do not, just to buy. This is attached to the faucet with stainless steel sink from the bottom so that the whole valve is not back and forth shaking. Costs individually so at 3 euros (in hardware stores).
In weight this low-pressure fitting weighs about 1/5 of my old brand low-pressure fitting. The tubes also make a cheap impression and are very light. Another tip: the big yellow-known Swedish furniture house I have recently seen a low-pressure fitting for 14.99 euros. In Bauhaus "There is always something to do," there is a low-pressure fitting for 29.99 euros - as this is a lot of high-quality here.
The seller was made aware of the lack of connection identification via email, the manual should be revised soon.